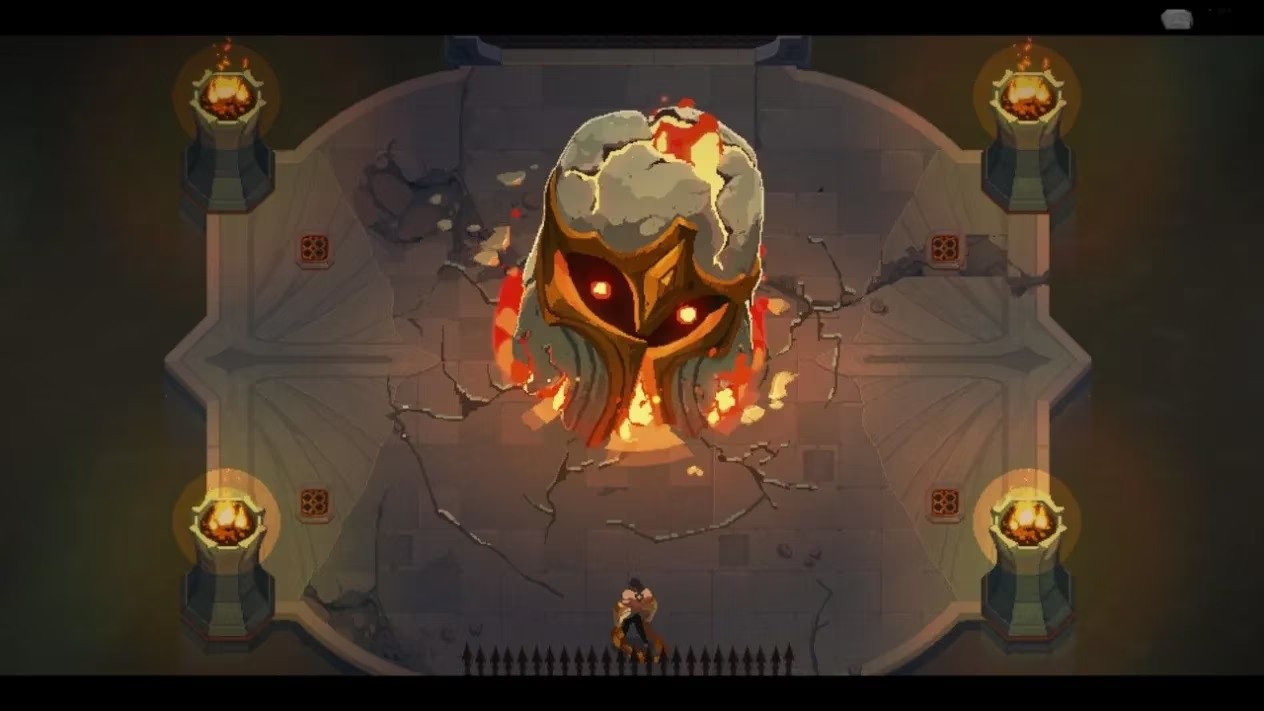
I'll never forget the first time I faced the Giant's Helm in The Mageseeker: A League Of Legends Story. That initial shockwave attack sent me scrambling across the battlefield, heart pounding like a war drum. Two years later, I still see new players trembling before this mechanical menace, but trust me – with the right approach, this foe transforms from nightmare to manageable challenge. My journey through Demacia taught me that overcoming the Helm isn't about brute force; it's about rhythmic precision, elemental mastery, and understanding those terrifying shockwaves that once made me panic-dash into spike traps. Let's break down how I turned this towering adversary into a conquered milestone.
Preparation: Your Foundation for Victory
Walking into this fight unprepared is like facing a thunderstorm in silk robes. Through trial and error, I learned that elemental alignment makes or breaks this encounter. Each Helm form has specific weaknesses – fire/ice for the first incarnation, wind/nature for the second. I always slot both required spells before engaging; trying to improvise mid-battle got me incinerated more times than I'd care to admit.
Here's my ritual:
-
🧪 Two spell minimum: Never enter with fewer than two equipped abilities
-
❤️ Full potion reserves: Hit a checkpoint shrine immediately before the fight
-
🔄 Opposite-element priority: Burn mana immediately when weaknesses align
During one disastrous attempt, I ignored these basics and watched helplessly as my lone fire spell tickled the ice form. Lesson seared into my memory: Preparation isn't just helpful – it's survival.
The Universal Battle Rhythm
Whether facing fiery or verdant variants, I follow this combat cadence religiously:
-
Opening barrage: Unload all mana with opposite-element spells the nanosecond the fight starts
-
Surgical strikes: Land light attacks ONLY during attack animations (heavy swings leave you vulnerable)
-
The flash signal: When the Helm glows intensely, STEAL its magic – this hijacked spell devastates its next form
-
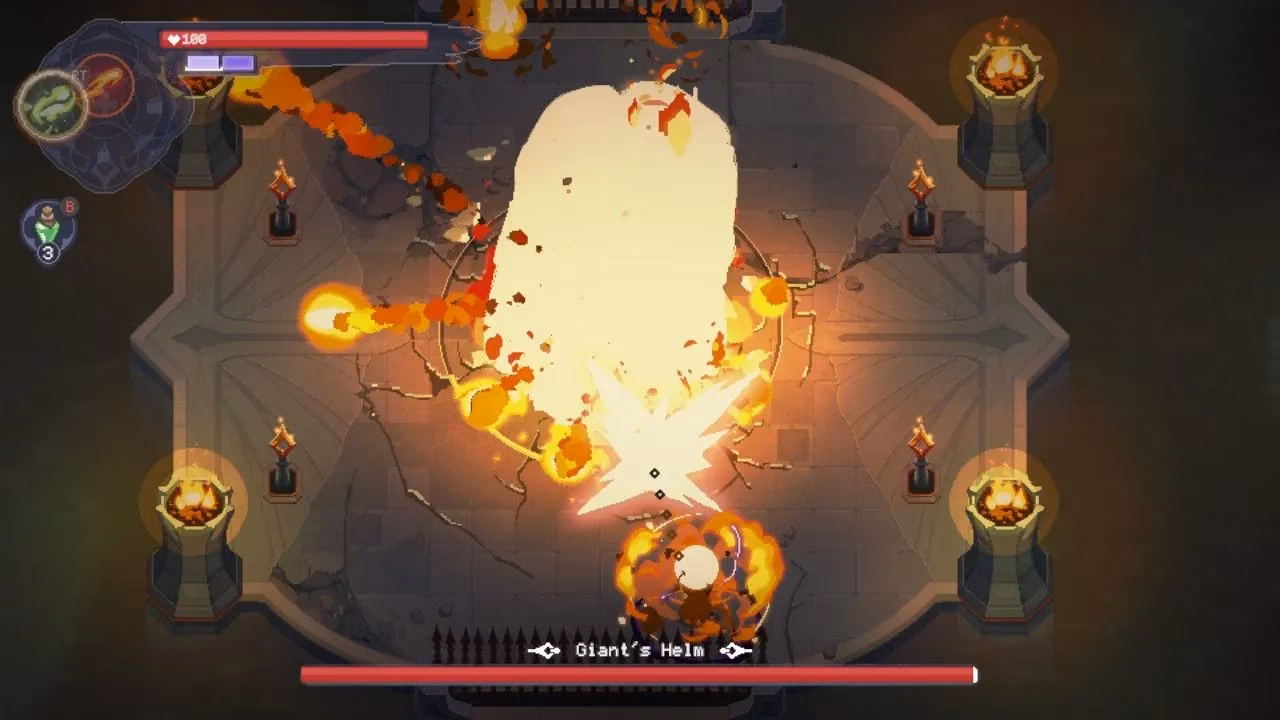
Shockwave scramble: Grapple to corner platforms at the first tremor
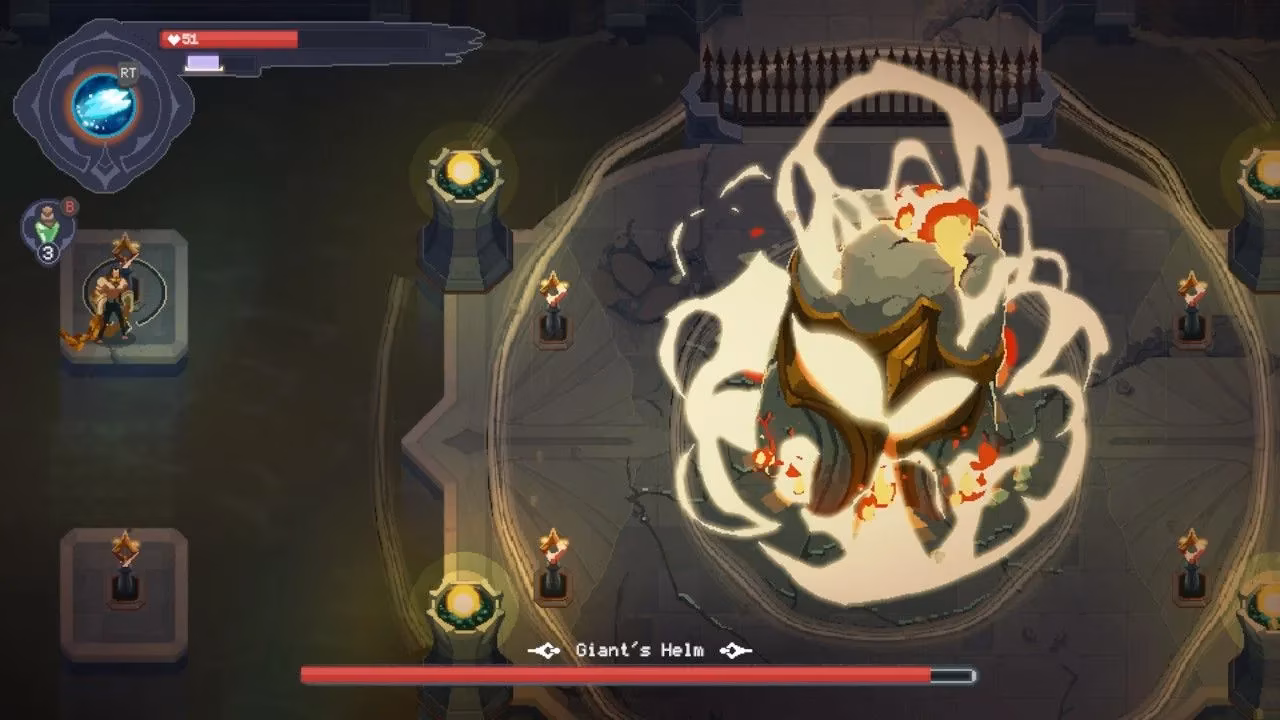
I used to greedily chase extra damage during shockwind-ups, only to eat massive area-of-effect punishment. Now? I treat those flashing runes like a dinner bell – time to zip to safety. The rhythm creates almost a dance: attack, retreat, counter, repeat.
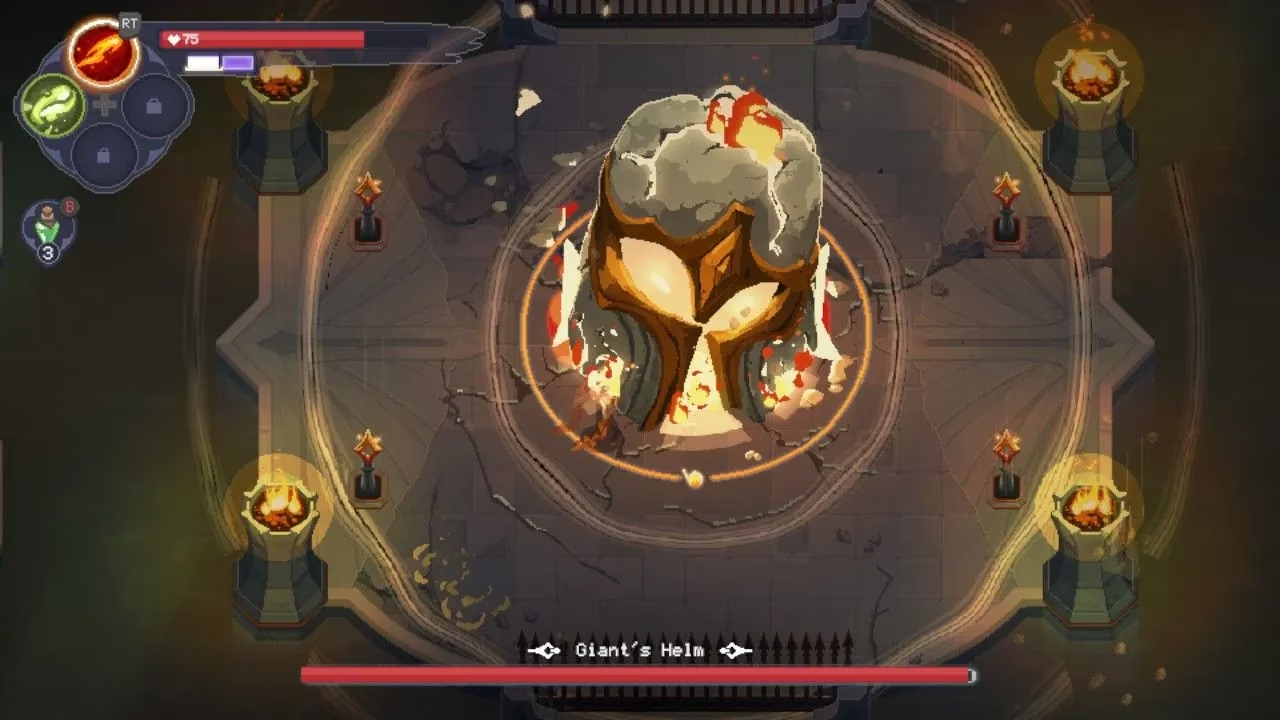
Decoding the Helm's Deadly Moveset
Understanding attack patterns transformed my survival rate. Here's the full breakdown:
| Attack | First Phase | Second Phase | My Evasion Tactics |
|---|---|---|---|
| Circling Projectiles | 1-2 slow-rotating orbs | Up to 5 rapid projectiles | Never stand directly behind – that blind spot got me impaled twice |
| Falling Spikes | ❌ Not present | ✅ Red targeting circles appear | Dash conservatively – save one charge for emergency escapes |
| Shockwave | ✅ Always follows magic steal | ✅ Enhanced range and speed | Grapple immediately to corners; wait for elemental shift before returning |
The projectile patterns especially require spatial awareness I initially lacked. During my tenth attempt, I finally noticed they always fire toward your last position – now I bait their direction before dodging.
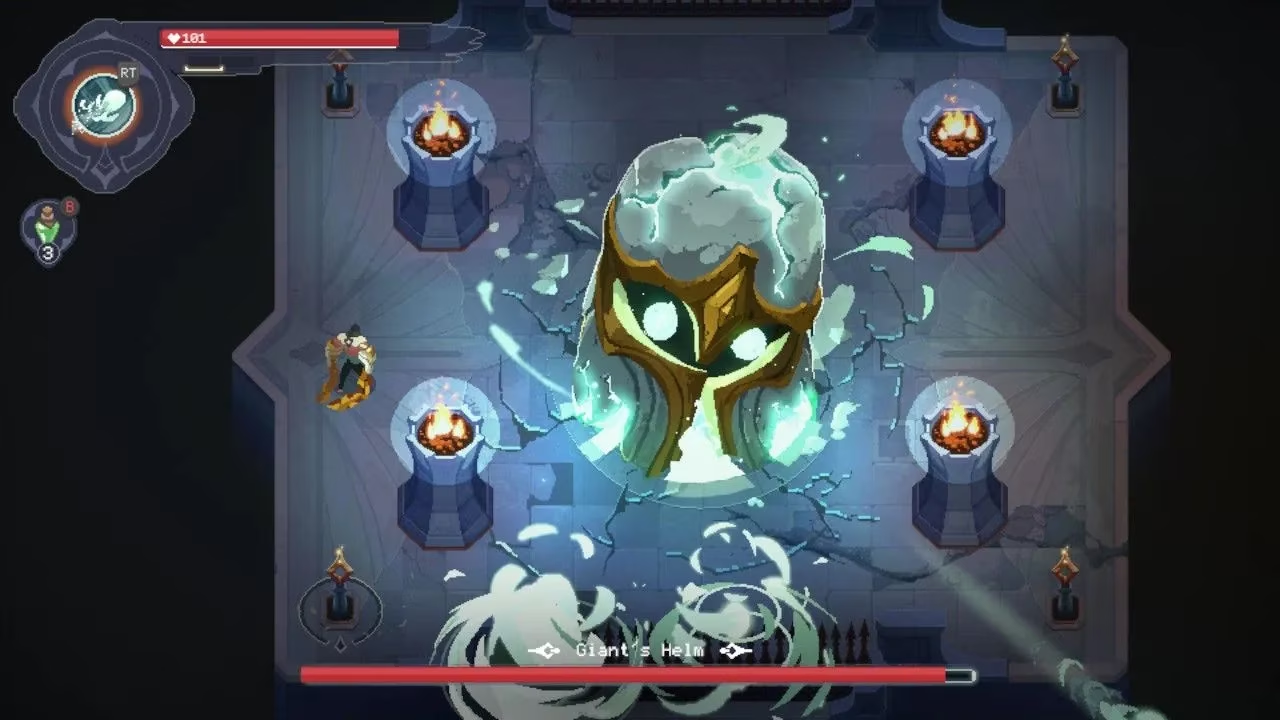
First Confrontation: Dancing With Fire and Ice
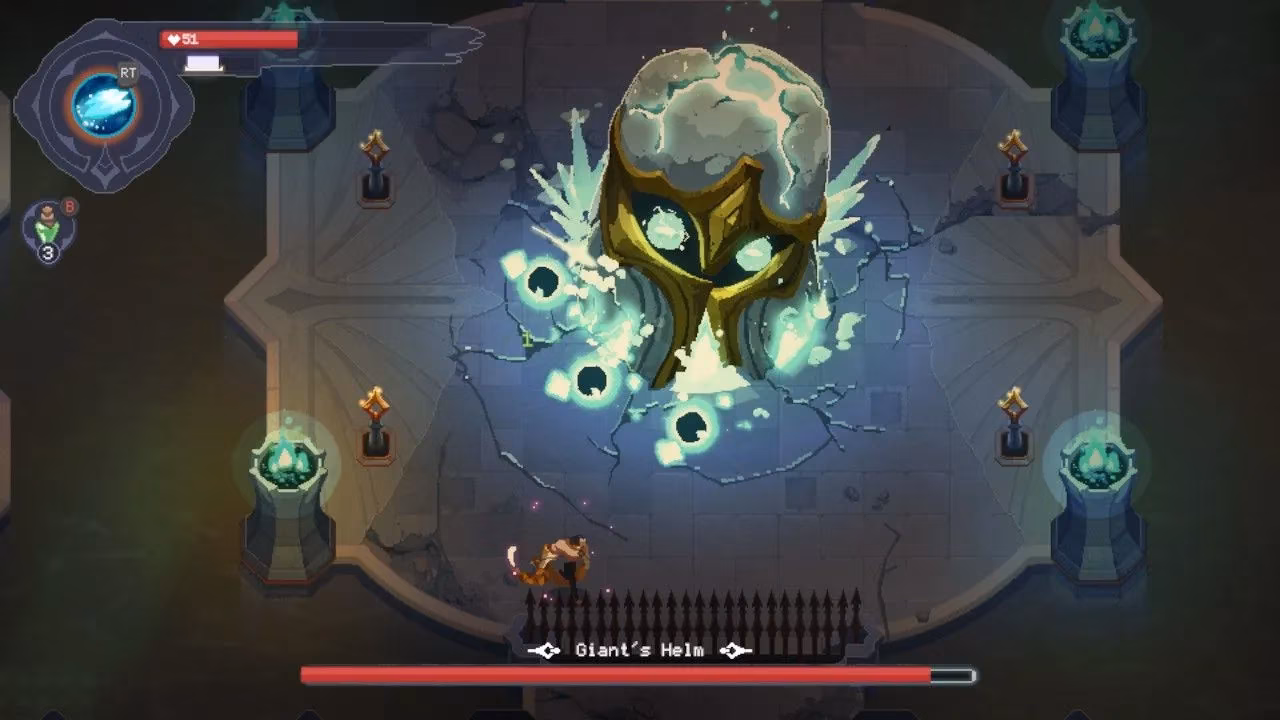
That inaugural fire/ice battle remains etched in my muscle memory. Four corner grapple points become lifelines during shockwaves, but early on I learned they're NOT sanctuaries. While hiding from shockwaves, I failed to notice spike indicators forming beneath me – instant death. Now I:
-
🔥 Alternate elements constantly between phases
-
❄️ Stay mobile even on platforms
-
🔗 Grapple-chain between corners if spikes appear
The phase shift happens faster than you'd expect. I now watch for the Helm's core color change as my cue to switch spells.
The Wind/Nature Rematch
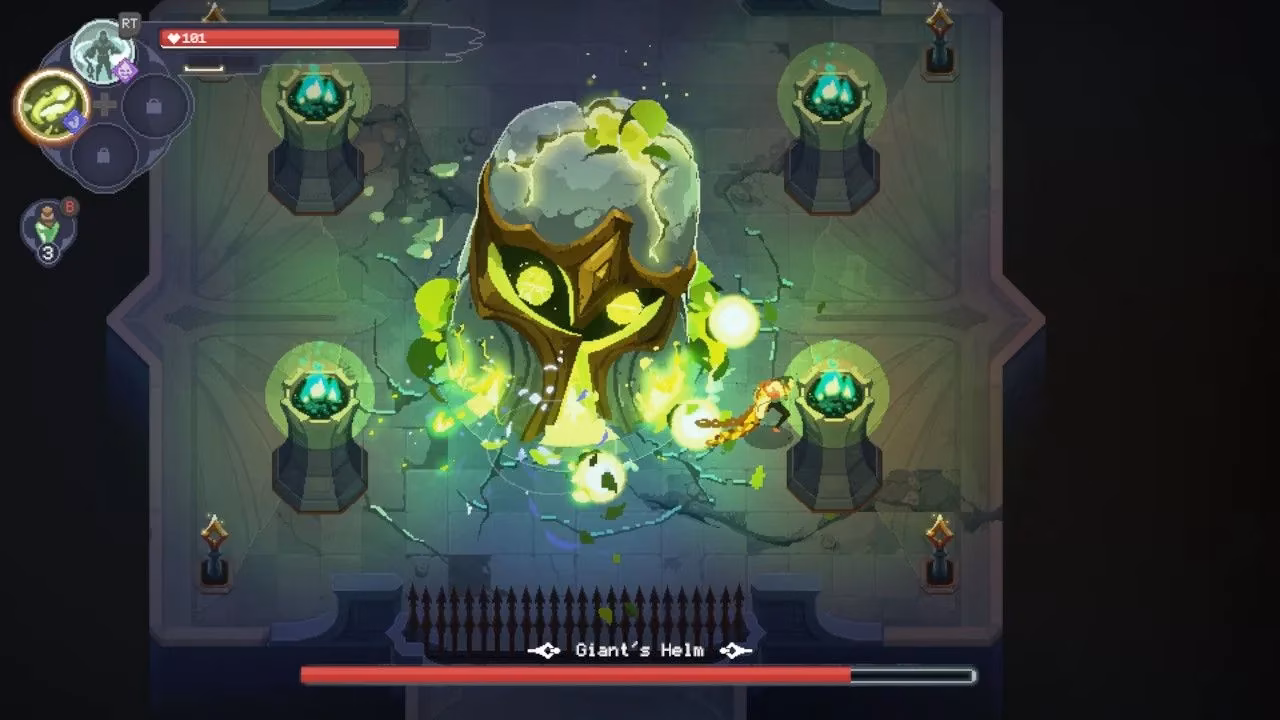
Seeking redemption after my first victory, I pursued the optional wind/nature variant immediately. The arena changes everything – no platforms means you'll need statue shielding during shockwaves. Four stone guardians stand in the corners, but reaching them requires:
-
🌪️ Timed grapples between shockwave pulses
-
🌿 Pre-positioning when you see the red warning aura
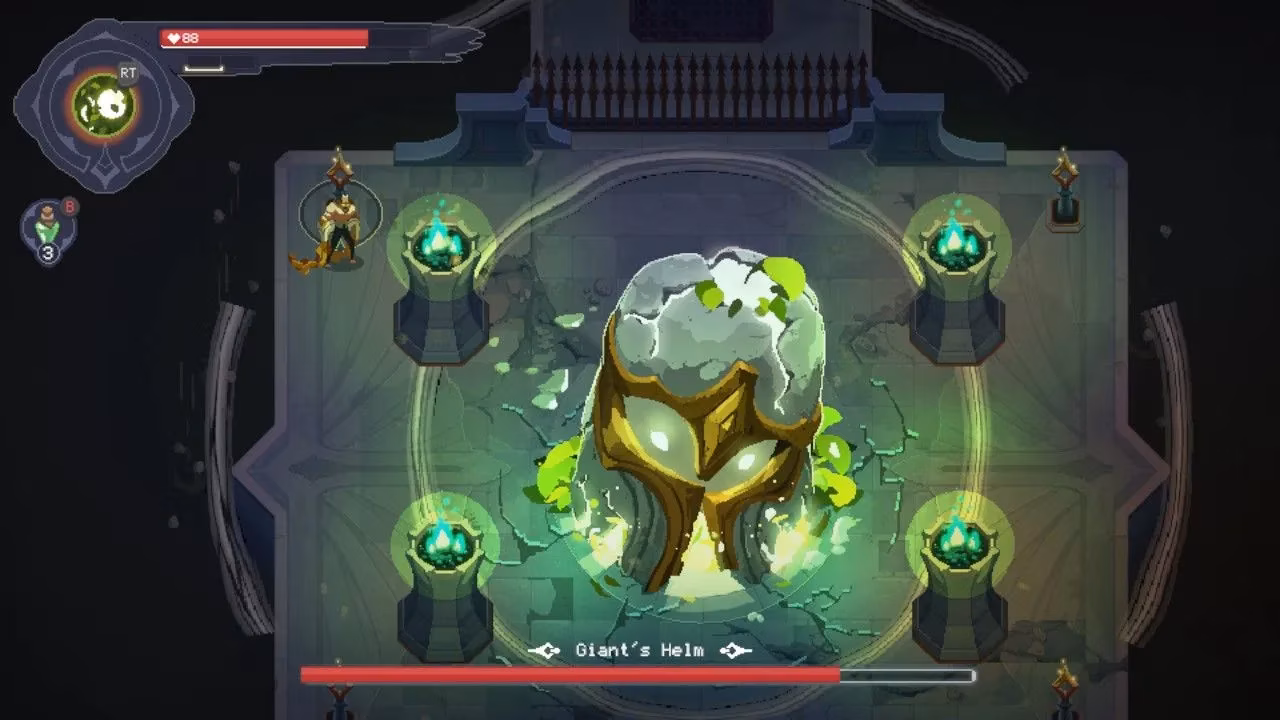
I remember frantically trying to grapple THROUGH a shockwave (don't). The statues have narrow coverage – stand too far left or right and you'll still get clipped. It took three attempts to find the sweet spot behind each protector.
Hard-Won Wisdom From the Frontlines
Beyond core mechanics, these nuances saved my skin:
-
👁️ Peripheral vigilance: Split focus 60/40 (boss/self) – those red spike circles appear without audio cues
-
⚔️ Attack discipline: Light combos ONLY; heavy attacks got me combo-killed by follow-up projectiles
-
❤️ Potion patience: Heal ONLY below 50% HP – no single attack deals过半 damage
-
🕒 No-rush mentality: When low on health, survive using hijacked spells only
I used to chug potions at 70% health, then die to unavoidable damage later. Now I treat HP like precious currency – spending it only when absolutely necessary.
Returning to where I began, that initial shockwave terror now feels like a distant memory. What once seemed an insurmountable wall became a testament to preparation and pattern recognition. The Giant's Helm taught me that in Demacia's magical conflict, victory doesn't favor the strong – it favors the observant, the patient, and those willing to learn from each electrifying defeat. My advice? Embrace the dance, respect the rhythm, and soon you'll be the one delivering the final shocking blow.